SmartLaser
Diagrams
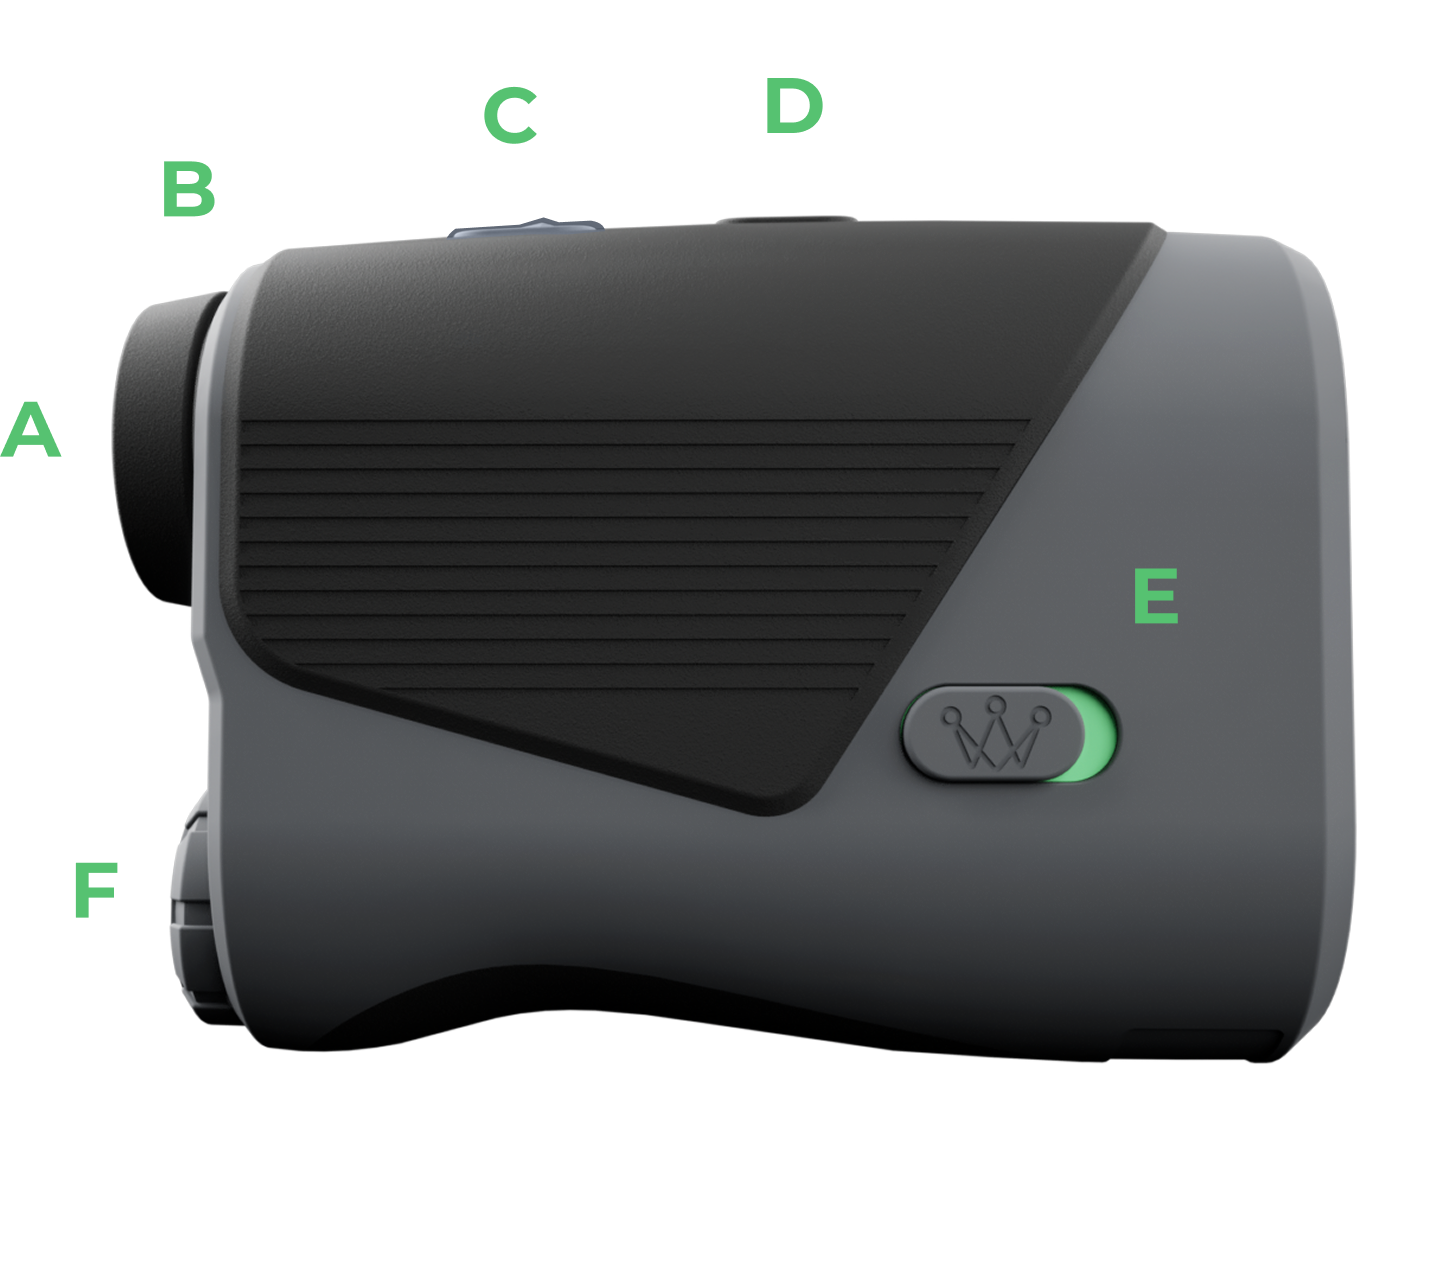
| Label | Description |
|---|---|
| A | Eye Piece |
| B | Focus Adjustment |
| C | Power Button |
| D | Settings/Mode Button |
| E | Tournament Switch |
| F | Battery Cover |
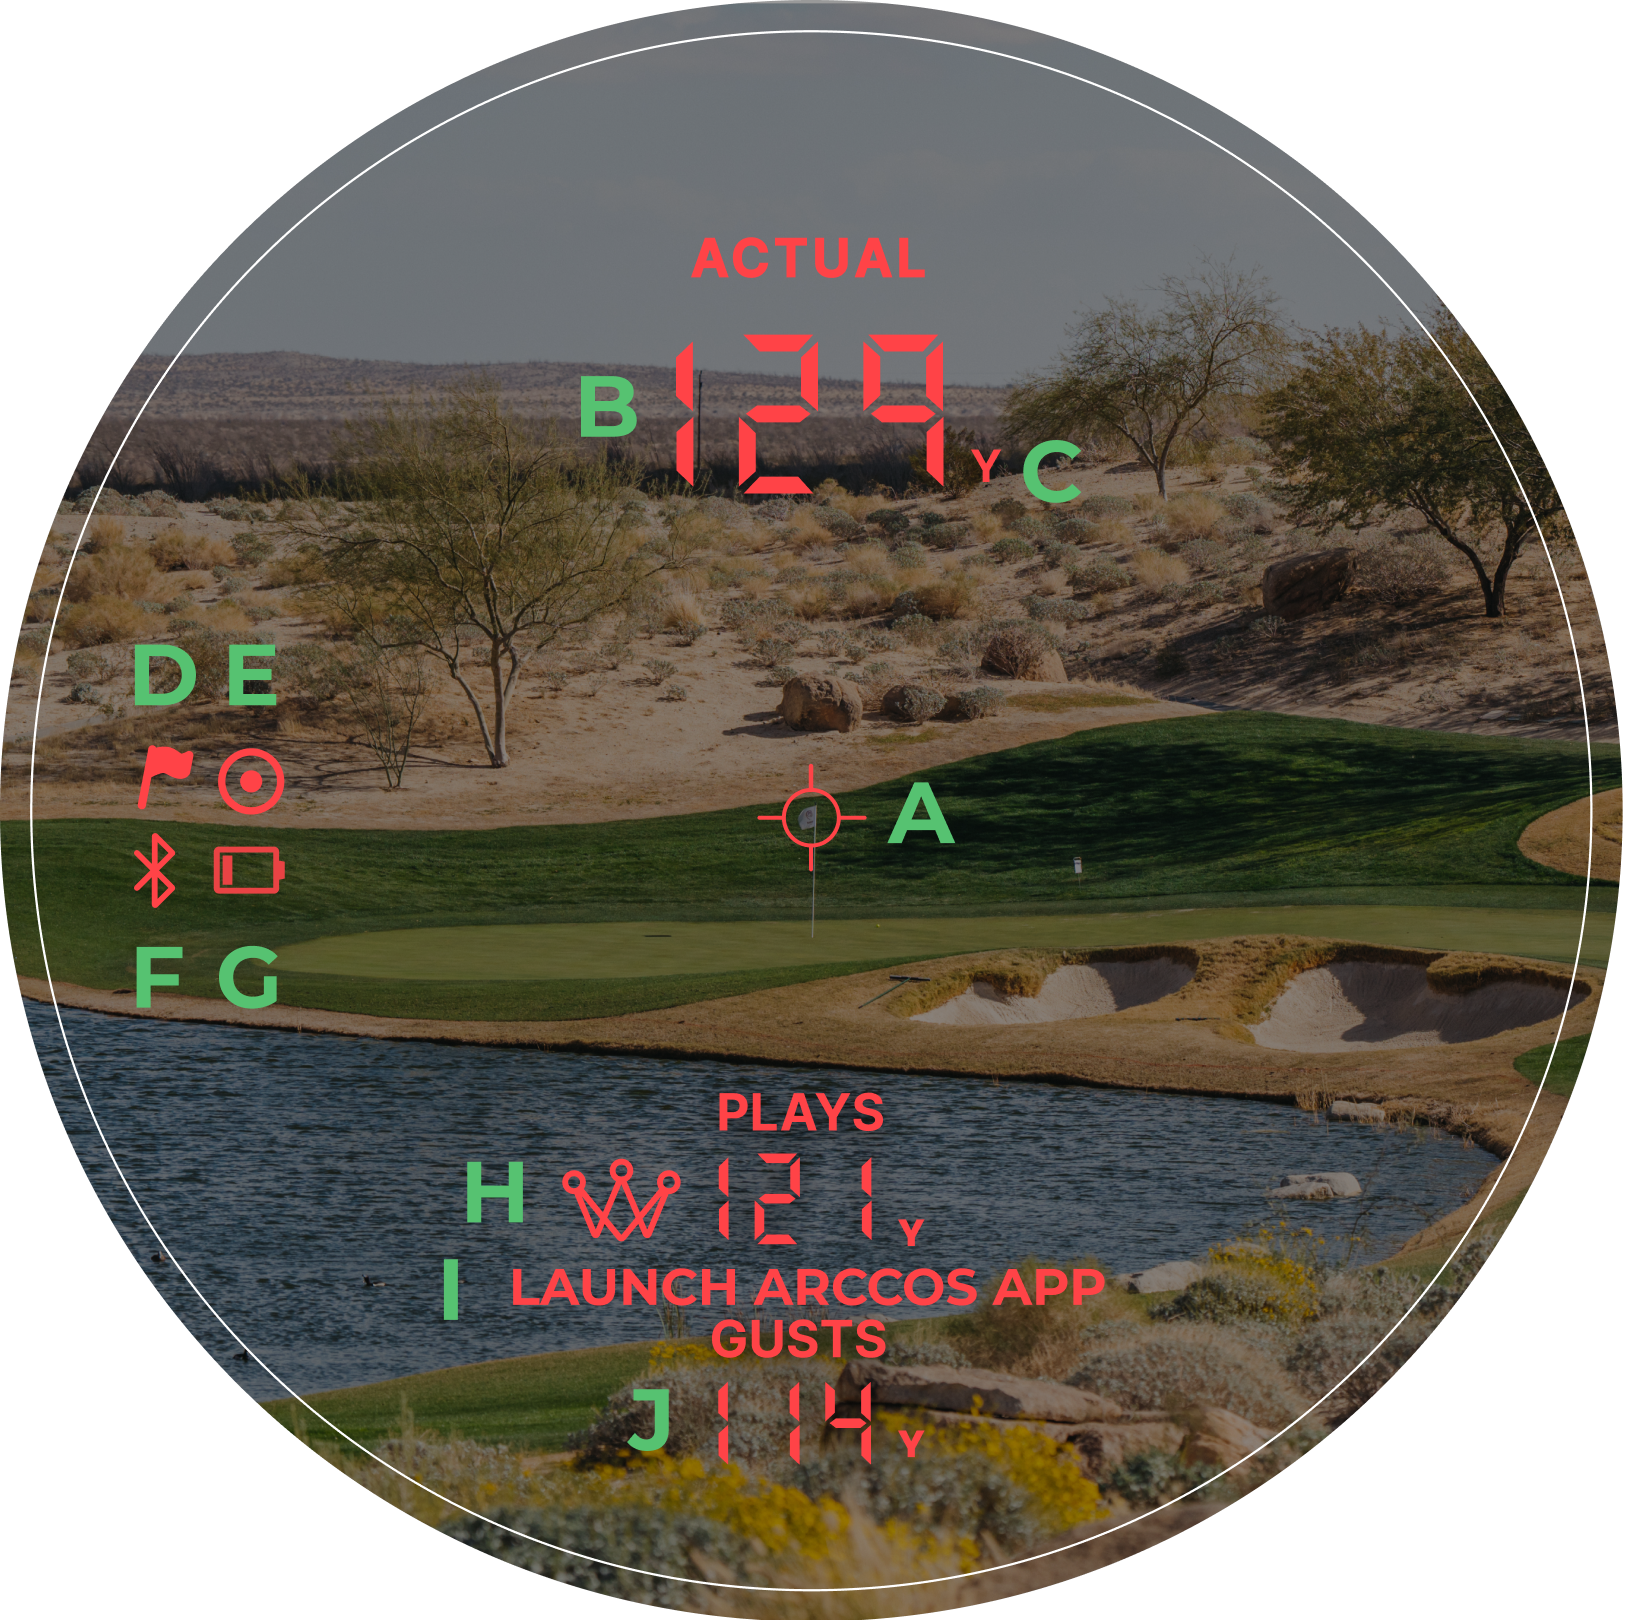
| Label | Description |
|---|---|
| A | Aiming Circle & Indicating Crosshair |
| B | Actual Distance |
| C | Unit of Measurement |
| D | Pin Lock Mode |
| E | Scan Mode |
| F | Bluetooth Icon |
| G | Battery Indicator |
| H | Arccos Plays Like Distance |
| I | Launch Arccos App Icon |
| J | Gusts Distance |
Modes
Pin Lock Mode
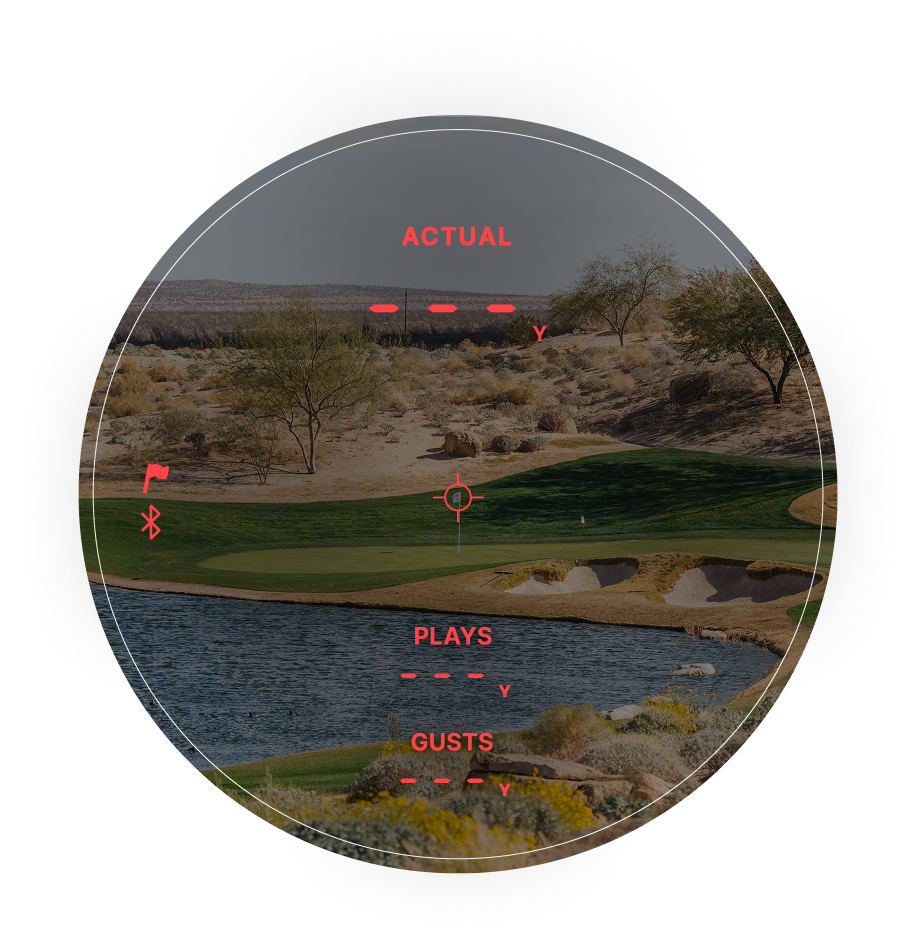
Pin Lock Mode is best used when measuring a Flag Stick or smaller objects. The device will provide a short vibration to confirm that the laser has locked onto the pin. To toggle between the different modes, hit the Settings/Mode Button once while the device is powered on. When PLM is activated, the flagstick icon will appear on the left side of the display.
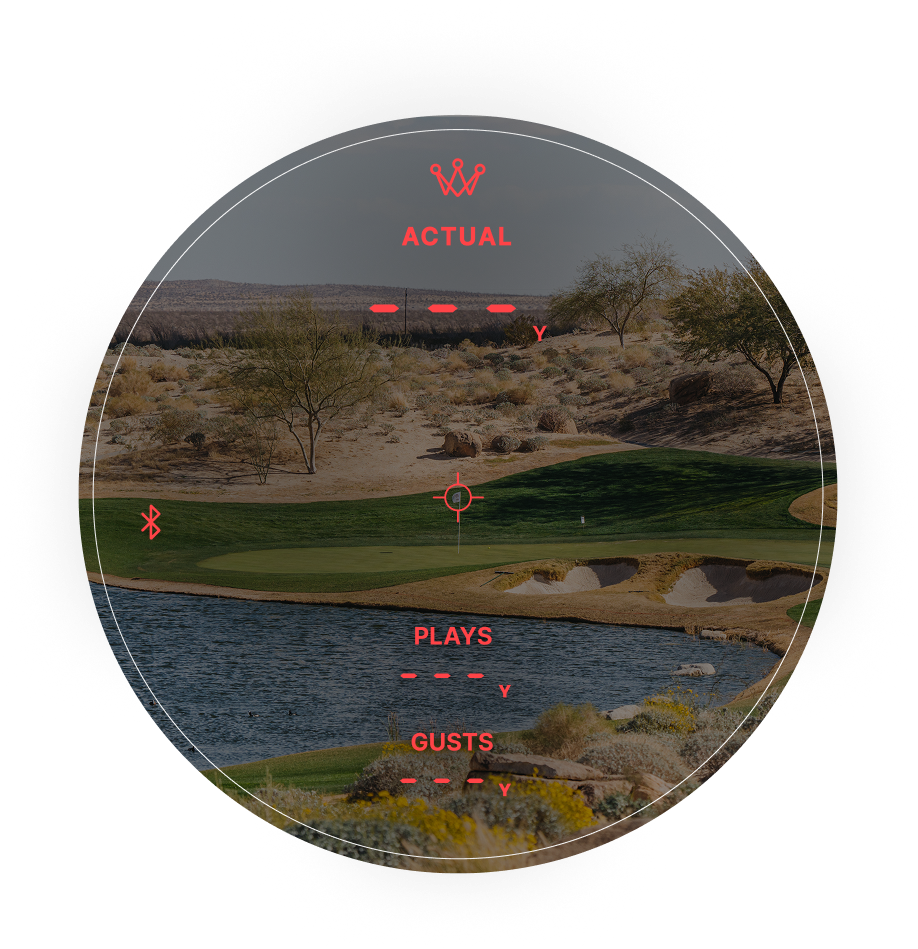
Non Pin Lock Mode
Non-Pin Lock Mode is recommended when measuring distances to larger objects.
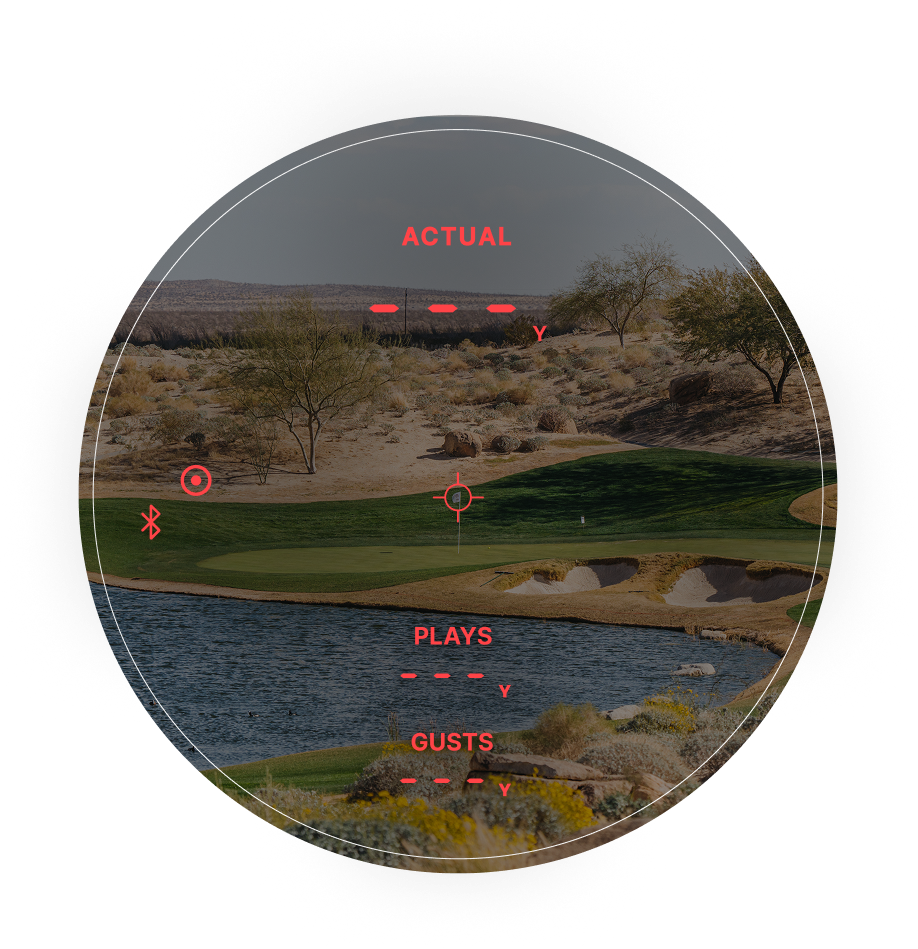
Scanning Mode
To measure distances to multiple targets in succession. When in Non-Pin Lock Mode, press and release the Power Button to power on. Then hold the Power Button. The Laser Indicating Crosshairs will flash and the laser will continuously fire. Measurements will change as you scan the landscape and change targets. Scan Mode is indicated by the Target Icon on the left side of the device. The Target Icon will only display when the Power button is held down and the laser is continuously firing.
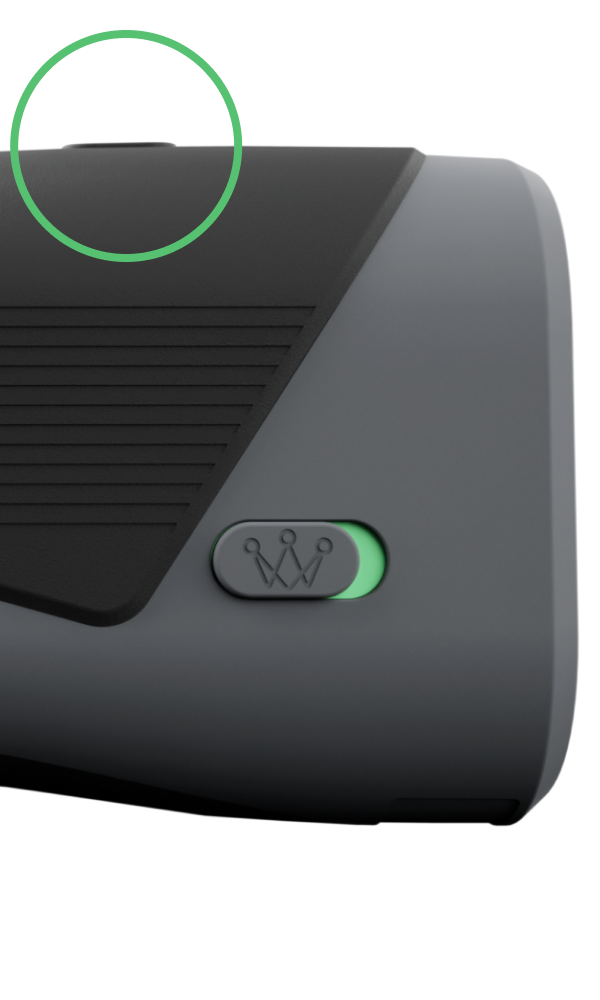
Unit of Measure
- To change the unit of measure from Yards to Meters, start with the device powered on. Then hold the Settings/Mode button for 3 seconds. The unit of measure is indicated by a “Y” or “M” shown directly to the right of the displayed distance.
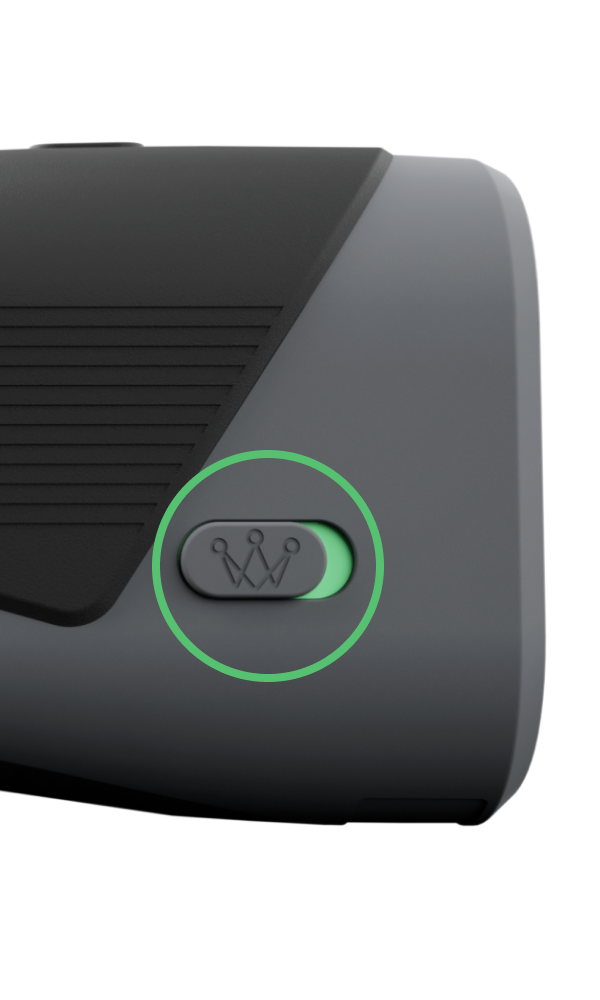
Tournament Mode Toggle
- When no color is showing: Slope Function is off. The laser is tournament legal when the switch is turned off.
- When green is showing: Plays Like & Gust Distances are enabled. Plays Like adjusted yardage will be displayed after every time the laser is fired. The laser is not tournament legal when the switch is enabled.
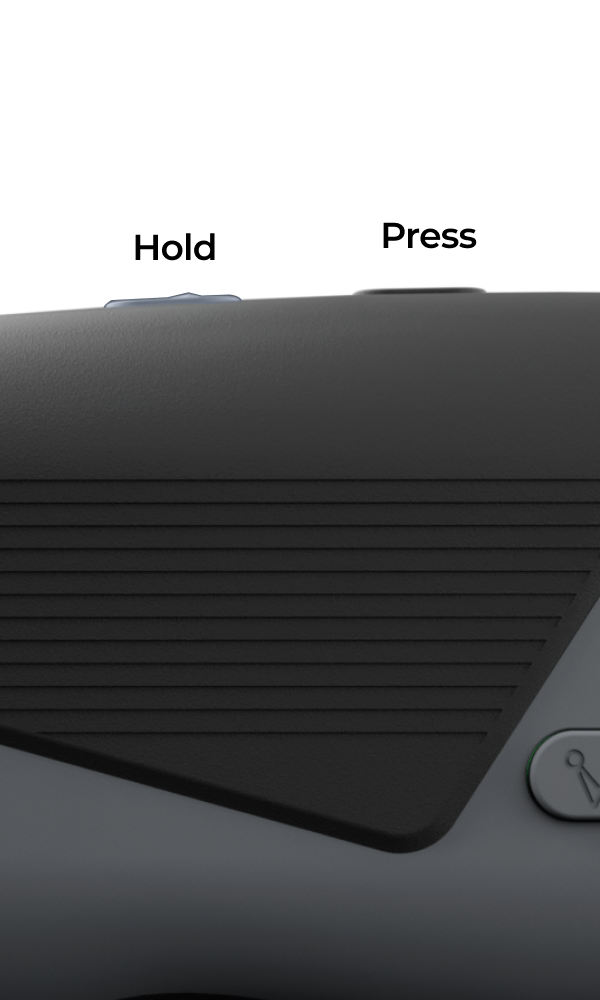
Adjusting Brightness Settings
- There are 5 brightness settings that allow you to control the brightness of your Smart Laser rangefinder. The brightness settings range from 1 (dimmest) to 5 (brightest).
- To change the brightness of your OLED display, hold the gray Diamond Power Button down while also pressing the Settings/Mode button and you will see the display brightness change. The device will default to a brightness setting of 5.
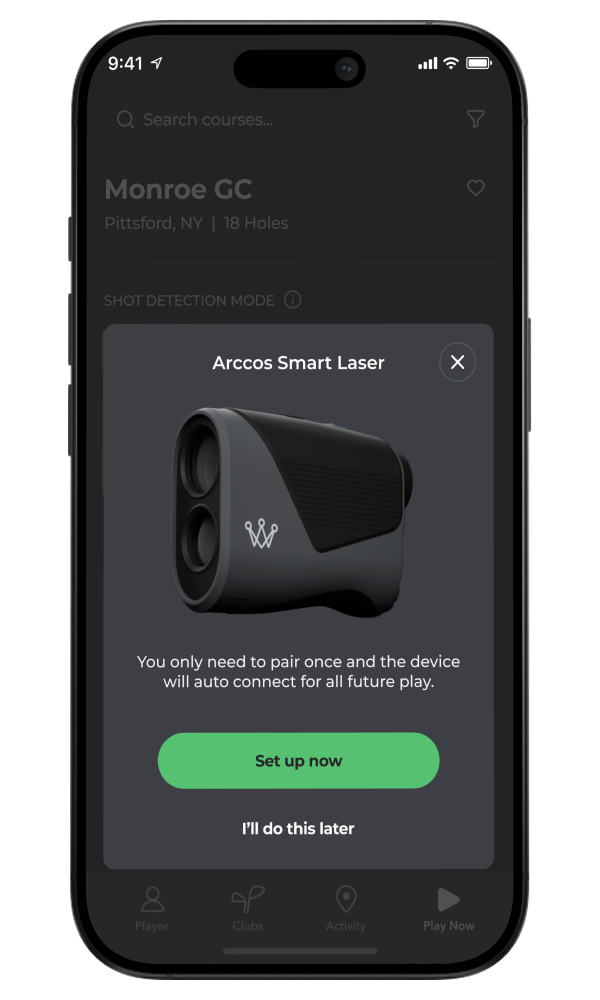
Pairing
- Activate Bluetooth on your phone and open the Arccos app. Pairing will be through the Arccos App and not through the phone’s Bluetooth settings.
- On the “Start Round” screen of the app, tap “+” on Smart Laser under the accessories section.
- Follow on-screen next steps until successfully connected.
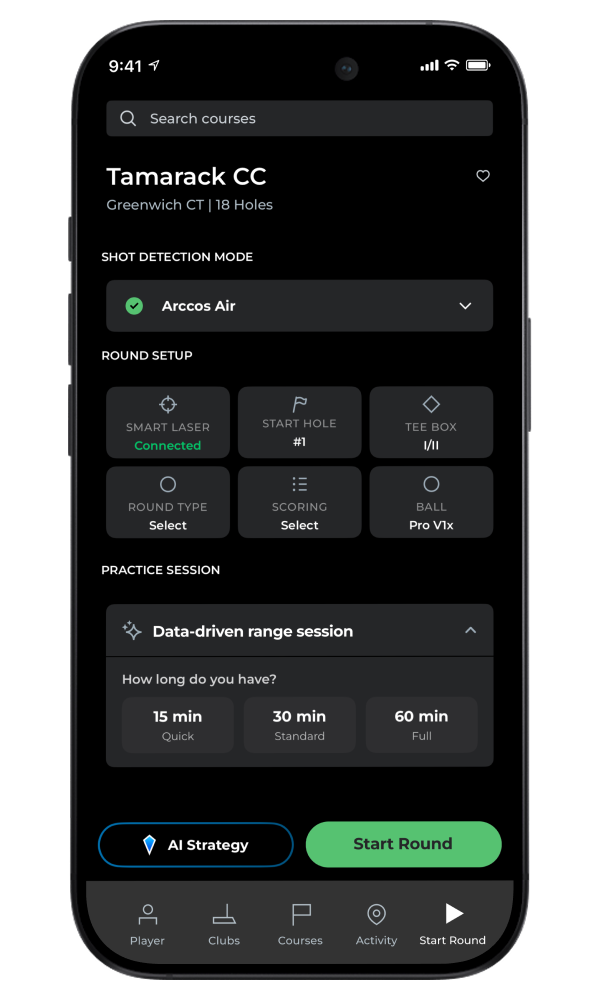
How to Use
- On the ‘Start Round’ screen, select your course, shot detection mode, and ensure under the ‘Accessories’ section, Smart Laser is selected.
- Once you’ve filled out the appropriate Round Settings, select ‘Start Round.’ Wait for your Smart Laser to successfully sync and for the round to begin.
- While looking through the Eye Piece, press & release the Power Button. The Smart Laser is now powered on.
- To focus or increase the clarity, use the Focus Adjustment by turning the Eye Piece.
- Continue looking through the Eye Piece, aim the Aiming Circle at your intended target and press the Power Button. The laser will fire and the Laser Indicator Crosshair will appear around the Aiming Circle. The measurement will be displayed at the top of the OLED display.
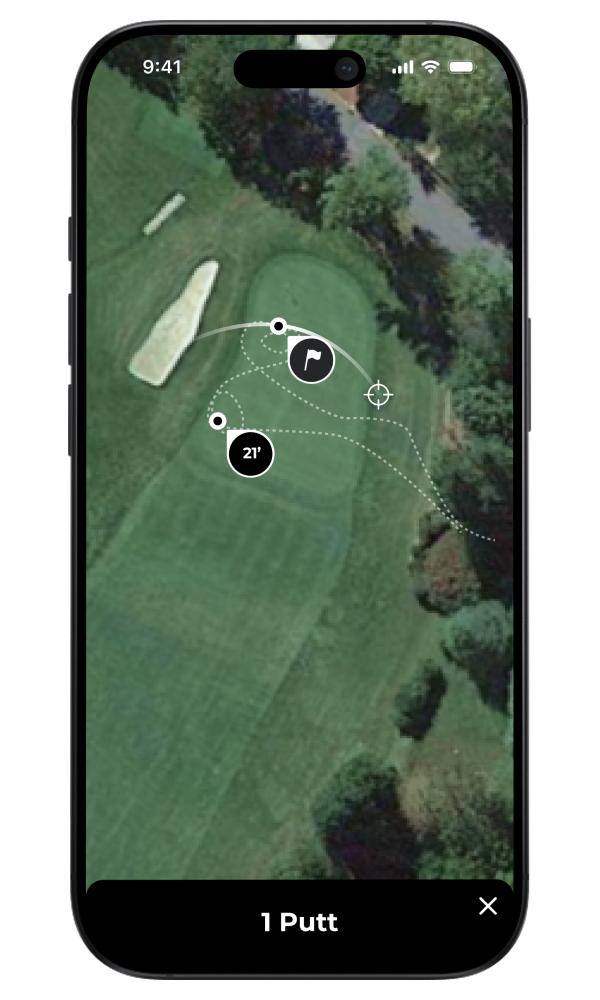
During a Round
- In the Smart Laser display with tournament mode off, you’ll see the following:
- Actual distance — your straight line distance to the target with no adjustments.
- Plays Like distance — the AI distance automatically adjusted in real-time for slope, temperature, humidity, altitude and wind.
- Gusts distance — shows the potential maximum impact on measured distance from wind gusts.
- With the Arccos Smart Laser you can automatically mark the pin in the Arccos app. It is important to keep your phone close by as the Smart Laser relies on the phone’s location for accurately locating the pin on the green.
Warnings
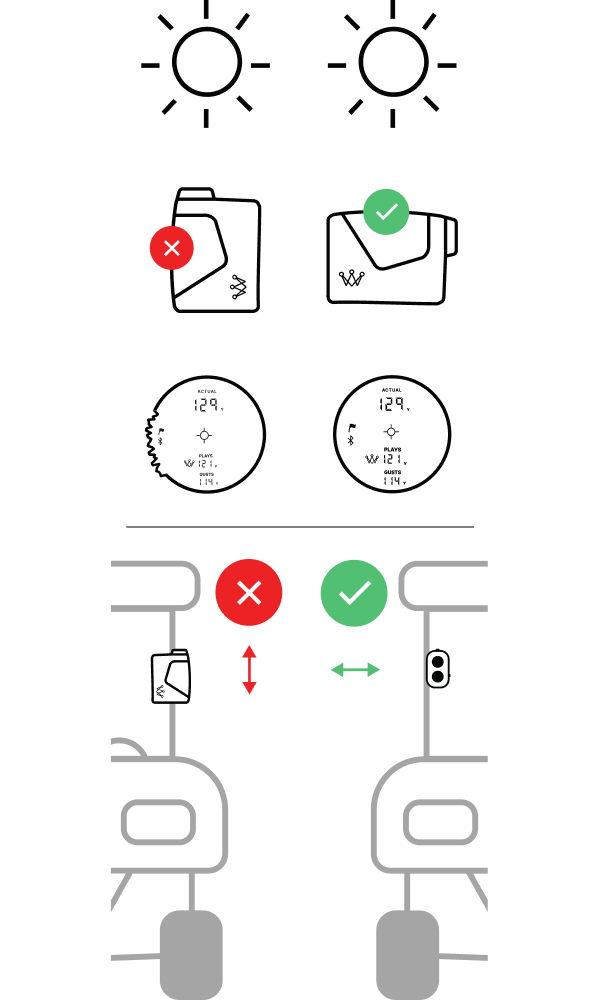
- NEVER look directly into the sun or intense light when using the Smart Laser.
- DO NOT aim/point Smart Laser at another person.
- DO NOT aim/point Smart Laser at anyone’s eyes or face.
- DO NOT attempt to disassemble the Smart Laser.
- DO NOT submerge in any liquid.
- DO NOT store the Smart Laser in extreme cold/hot temperatures (<50°F – >110°F).
Operational Notes
- Maximum measurement range: 999 YDS or 999 M.
- Auto Shutoff — To conserve battery life, the device will automatically power off when idle for more than 10 seconds.
- Weather conditions — Heavy rain and thick fog can potentially limit the maximum range of the device. Weather resistant: protected against light rain.
- Storing the laser — Do not leave the eyepiece in direct sunlight; the condenser effect of the lens may damage the internal display surface.
- To clean, use only a soft, clean cloth to prevent scratches. Do not submerge in liquid or any other cleaning products.
- Do not store the laser rangefinder in extreme cold/hot temperatures (<50°F – >110°F). Store in the provided carrying case when not in use.
Troubleshooting
Rangefinder is providing inaccurate adjustments
- Make sure the device is set to the desired unit of measure (Yards or Meters).
- Weak battery signal can affect the accuracy of the device. If the Battery Indicator is displayed on the OLED display, replace the battery.
- Make sure there isn’t anything obstructing your view such as your fingers, leaves, branches, etc.
- Make sure you’re keeping your phone nearby while using your Arccos Smart Laser.
- Make sure the Arccos App is on the correct hole. To navigate to the correct hole, open the Arccos App and select the correct hole by pressing “Play This Hole.”
When looking through the Eye Piece, the view is blurry
- Use the Focus Adjustment by turning the Eye Piece to focus/increase clarity.
- Make sure there isn’t anything obstructing your view such as your fingers, leaves, branches, etc. Use a soft, clean cloth to clean the lens.
What type of battery does the Arccos Smart Laser use?
- CR2 3-Volt Lithium Battery.
When should the battery be replaced?
- If the Battery Indicator is on the OLED display.
- If the rangefinder is consistently providing inaccurate measurements.
- If the OLED display is not present when pressing the Power Button.
When should Pin Lock Mode (PLM) be used?
- When measuring the distance to smaller targets such as a flagstick.
When “Launch Arccos App” icon is displayed
- Your subscription has expired or is past due.
- The weather data on your Smart Laser is outdated.
- To resolve this, open the Arccos app and ensure:
- Bluetooth on your phone is turned on.
- You are signed into the Arccos app.
- Your Arccos subscription is active.
- You have an active round started in the Arccos app.